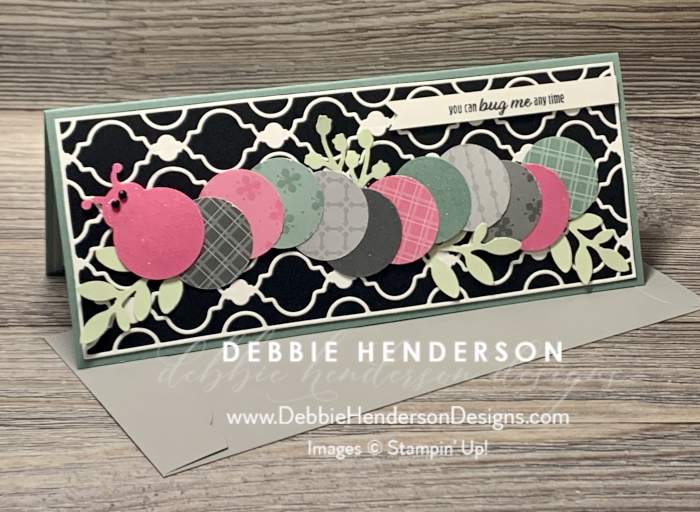
A Slimline Card using Slim Card Dies!

I love it when we can use stamping products in ways not intended. I turned our Ladybug Builder Punch into a long caterpillar. Isn’t it cute? I used some bright and neutral colors and I hope this makes you smile today!


I ended up using 12 total punched ladybugs for my critter. You can see below how I just cover the head each time I layer one on top of another and add a new color. This is what the caterpillar looks like on the backside:

I used the following cardstocks and designer papers for the caterpillar:
- Polished Pink Cardstock
- Basic Gray Cardstock
- Neutrals Designer Paper
- 2021-2023 In Color Designer Paper
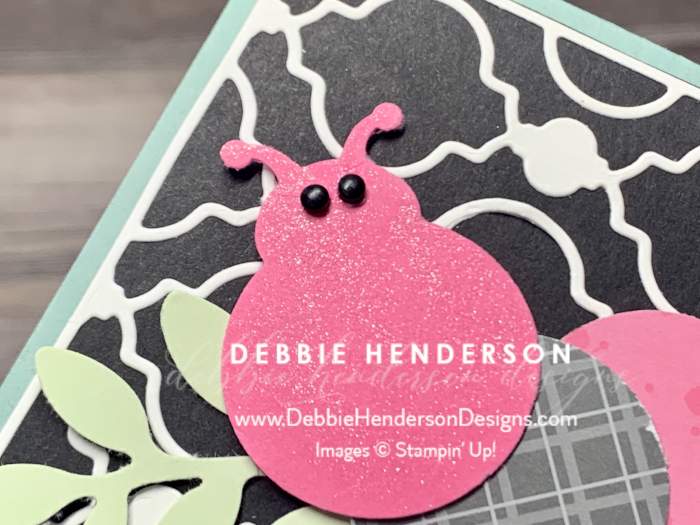
Just mix up different patterns by using both sides of each designer paper. I colored the Polished Pink Cardstock layers with Wink Of Stella Clear Glitter Brush too!

Card Layers:
- Card Base: Soft Succulent Cardstock 8-1/2″ x 7″. Score at 3-1/2″ on the 7″ side and fold.
- Layer #2: Basic Black Cardstock 8-1/4″ x 3-1/4″. Set aside.
- Layer #3: Basic White Cardstock cut with the Slim Card Dies. TIP: You can use our Adhesive Sheets on the back of the white layer before you cut to create a jumbo sticker. Just peel and stick!
- Glue white diecut layer to Basic Black Cardstock layer. Glue to card front.
- Sentiment: Stamp the sentiment on a 3/8″ wide scrap of Basic White Cardstock using Tuxedo Black Memento Ink. Trim to 3-1/2″ long and trim the left end into a banner shape using Paper Snips. Glue to the right about 1/2″ from the top using Mini Stampin’ Dimensionals.
- Caterpillar: Using the Ladybug Builder Punch, cut 12 using the papers I listed above. Layer each bug on top of each other over the head and shape as you like as you glue. Glue to card front using Stampin’ Dimensionals.
- Boughs: Cut boughs and branches using the Bough Punch with Soft Sea Foam Cardstock. Glue tucked under the caterpillar.
- Color the Polished Pink body parts using Wink Of Stella Clear Glitter Brush.
- Add Classic Matte Dots for the eyes.


Leave a Reply