Time To Celebrate!

It’s Thursday Challenge time at Create With Stamping Friends and this week is all about this sketch challenge. I hope you give it a try!
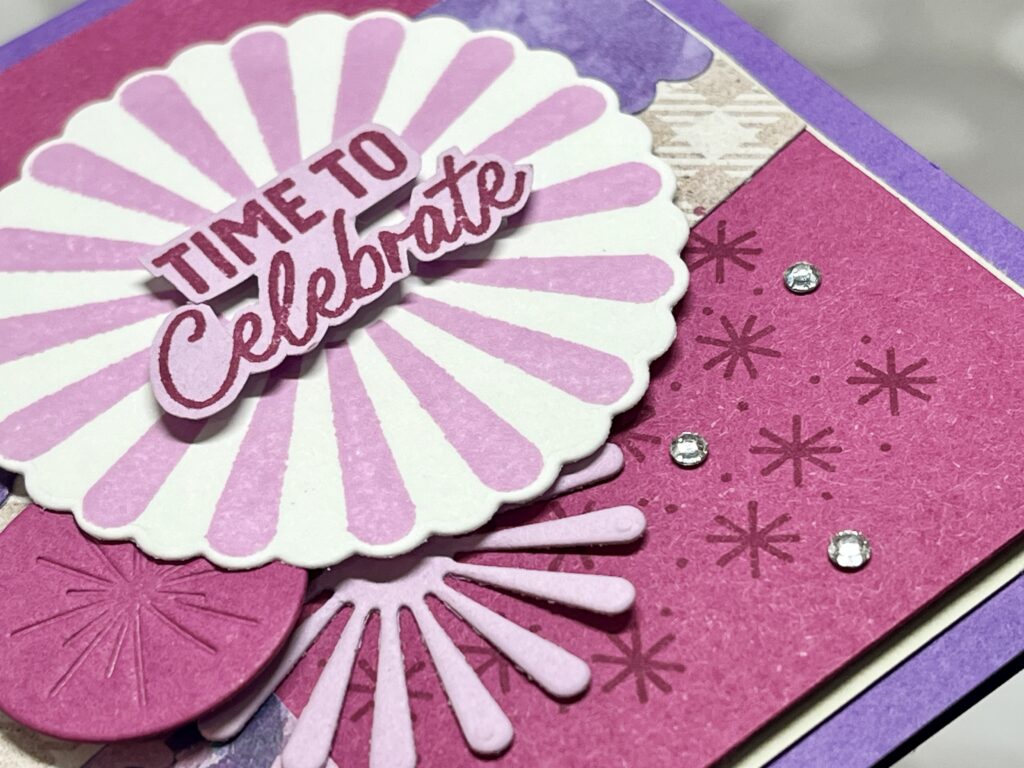
I used the Round We Go Bundle for the adorable round layers you see on the card front. Some are stamped and diecut, while others are diecuts only:
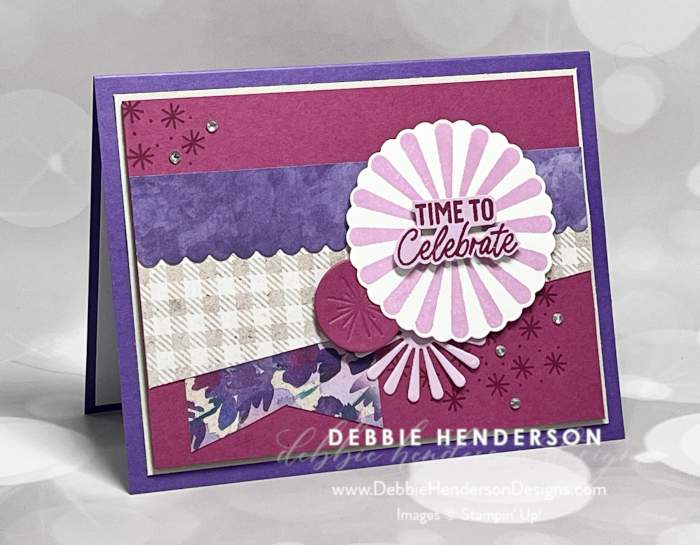
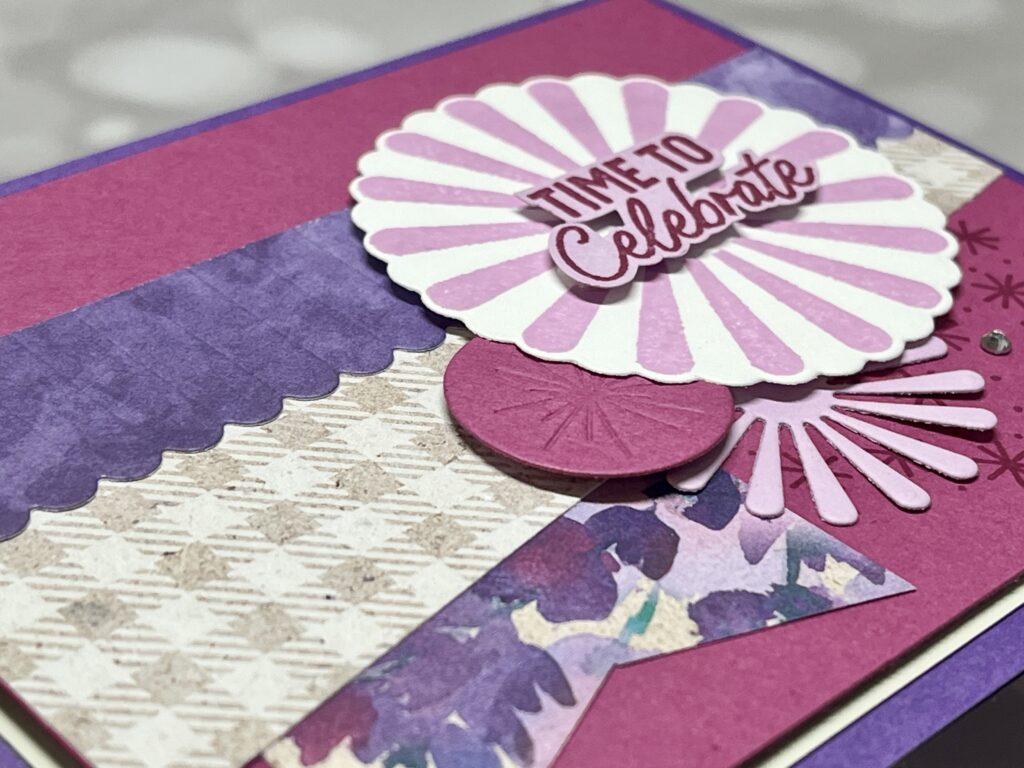
The Perennial Lavender Designer Paper was used for the printed paper layers in three different patterns. I have so many layers on this card!
Stampin’ Up! Products Used:
- Stamps: Round We Go
- Cardstock: Gorgeous Grape, Basic Beige, Basic White, Berry Burst, Fresh Freesia
- Designer Paper: Perennial Lavender
- Inks: Fresh Freesia, Berry Burst
- Tools & Accessories: Round We Go Dies, Rhinestone Basic Jewels, Stampin’ Dimensionals, Paper Snips
Card Recipe:
- Card Base: Gorgeous Grape Cardstock 8-1/2 x 5-1/2. Score and fold at 4-1/4.
- Layer 2: Basic Beige Cardstock 5-1/8 x 3-7/8. Glue to card base.
- Layer 3: Berry Burst Cardstock 5 x 3-3/4. Stamp the stars image at the top left corner and bottom right area with Berry Burst Ink. Glue to card front with Stampin’ Dimensionals.
- Layer 4: Perennial Lavender Designer Paper 2 x 2. Use Paper Snips to cut one end into a banner shape. Glue to card front about 3/4″ from the left edge and 1/2″ from the bottom.
- Layer 5: Perennial Lavender Designer Paper 5 x 1-1/2. Trim the bottom at an angle and glue to card front about 1″ from the bottom.
- Layer 6: Perennial Lavender Designer Paper 5 x 1. Use the long scalloped die to cut one long side. Glue to card front about 1″ from the top.
- Rosette: Stamp the rosette on Basic White Cardstock with Fresh Freesia Ink. Cut with the die. Glue to the right side with Stampin’ Dimensionals.
- Sentiment: Stamp the sentiment with Berry Burst Ink on Fresh Freesia Cardstock. Cut close to the lettering with Paper Snips. Glue to the center of the rosette with Stampin’ Dimensionals.
- Flower: Cut one rosette flower with the die and Fresh Freesia Cardstock. Tuck and glue under the stamped rosette at the bottom left.
- Round: Cut one round embossed circle with the die and Berry Burst Cardstock. Tuck and glue under the stamped rosette to the left of the flower with Stampin’ Dimensionals.
- Bling: Add Rhinestone Basic Jewels to the background.
Check out what the rest of our team is up to this week by visiting Create With Stamping Friends and while visiting, check out our newest tutorial Collection:



Leave a Reply