Feathered Friends Theme!

Welcome to Create With Stamping Friends Creatively Simple! Connie and I create simple cards with a theme each week and for this month, this is our theme:

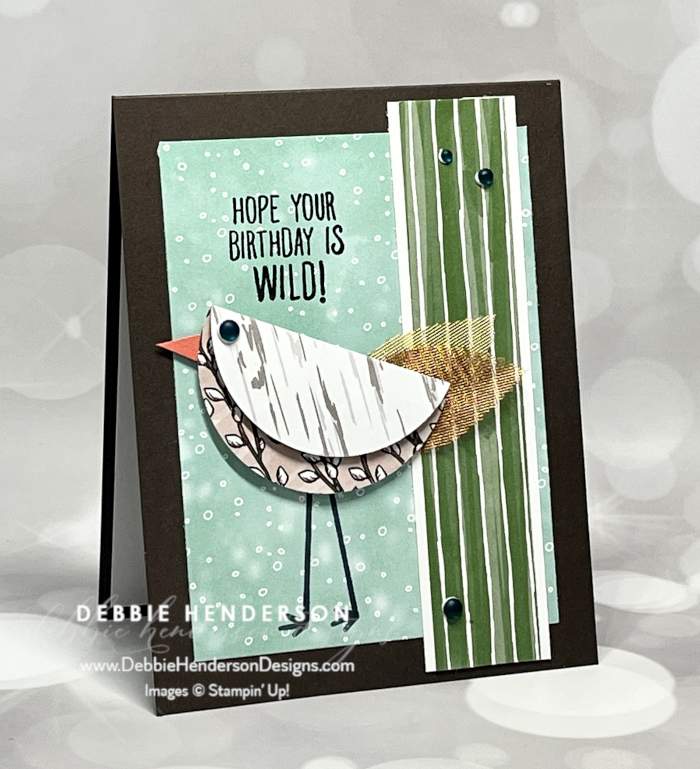
I thought I would change things up this week and use punch art on my bird. Isn’t he cute? All that’s needed is a circle punch, fold it over and there’s your bird!

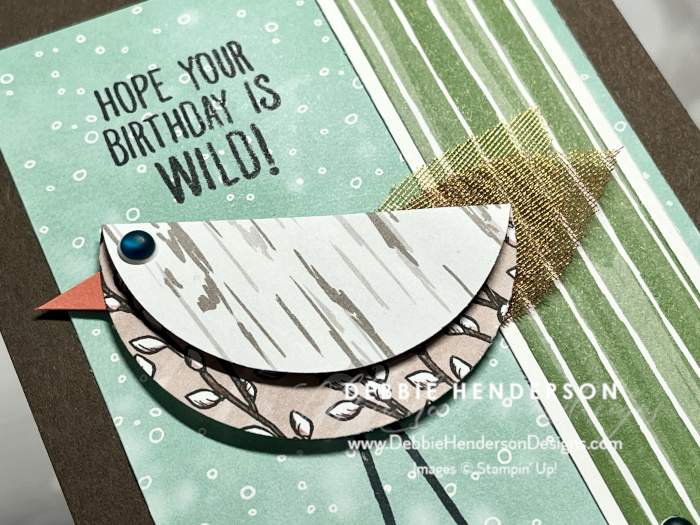
I also used 2 of our Woven Golden Leaves, colored one with a Pumpkin Pie Stampin’ Blends Marker and glued them to the back of the body:


Stampin’ Up! Products Used:
- Stamps: Rhino Ready
- Inks: Early Espresso
- Cardstock: Early Espresso, Pumpkin Pie
- Stampin’ Blends: Early Espresso, Pumpkin Pie
- Designer Paper: Nests Of Winter
- Tools & Accessories: 2-3/8″ Circle Punch, Loose Frosted Dots, Woven Golden Leaves, Stampin’ Dimensionals
Card Recipe:
- Card Base: Early Espresso Cardstock 11 x 4-1/4. Score and fold at 5-1/2.
- Layer 2: Nests Of Winter Designer Paper 4-5/8 x 3-1/2. Glue to card base.
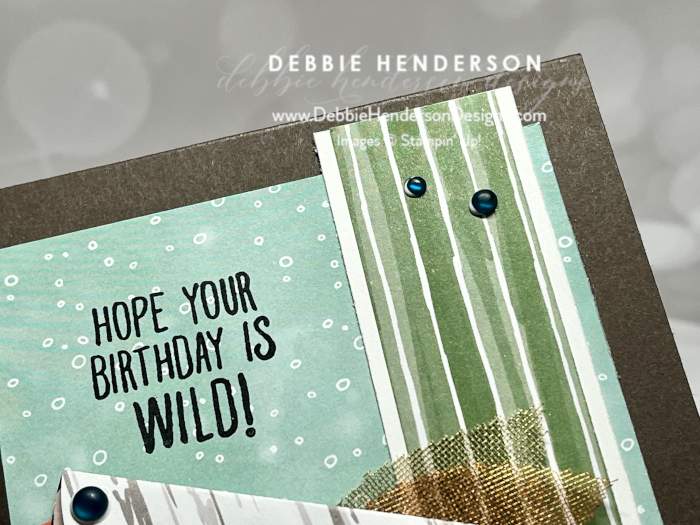
- Layer 3: Nests Of Winter Designer Paper 5-1/4 x 1-1/4. Glue 1/2″ from the right edge.
- Sentiment: Stamp the sentiment at the top of the designer paper with Early Espresso Ink.
- Legs: Draw 2 legs for the birds with the Dark Early Espresso Stampin’ Blends Markers (see photo).
- Bird: Follow these steps:
- Nests Of Winter Designer Paper cut with the 2-3/8″ Circle Punch. Fold down 1″ of the circle and glue the fold down with Stampin’ Dimensionals.
- Glue an eye with the Loose Frosted Dots.
- Hand-cut a beak with Paper Snips and Pumpkin Pie Cardstock. Glue to the back of the designer paper.
- Color 1 Woven Golden Leaves with the Dark Pumpkin Pie Stampin’ Blends. Glue the back of the bird and also add one uncolored Woven Golden Leaves for the tail.
- Glue bird body to the legs with Stampin’ Dimensionals.
Make sure you visit Create With Stamping Friends to see what Connie created for our team this week and visit our tutorial page to see our newest Collection:


This bird is so cute!
So glad you like him Penny!