Pretty Colors & Mushrooms!

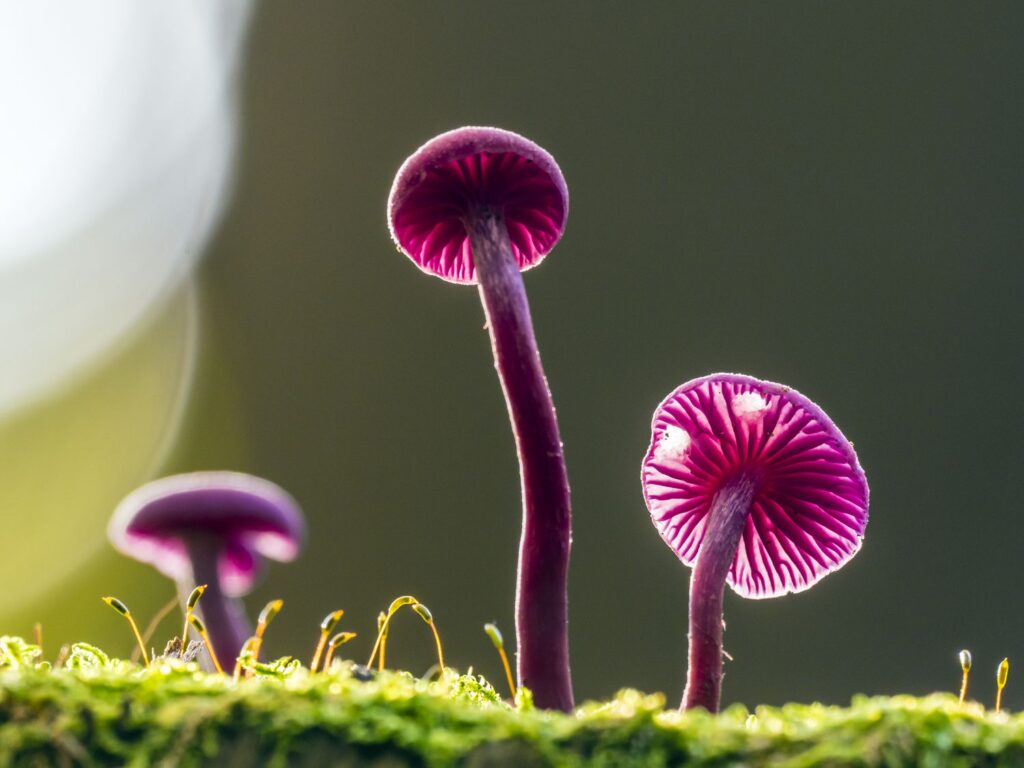
Welcome to our Create With Stamping Friends Inspiration Monday challenges. This week’s inspiration challenge is the photo below:

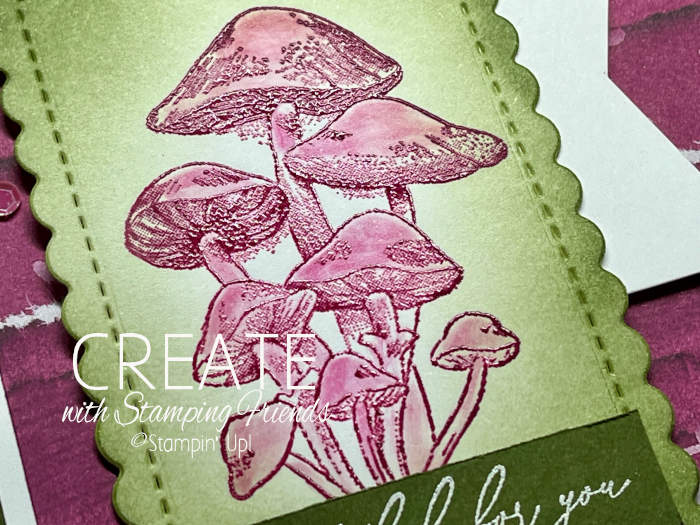
I actually stuck with the colors in the photo and the mushroom theme:

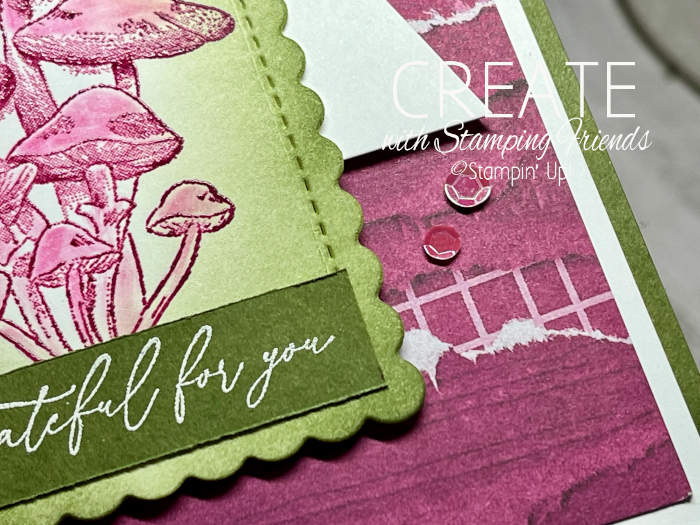
I made my own colored embossing by first inking the image with VersaMark Ink, followed by the colored ink. The VersaMark keeps the colored ink wet longer, so embossing powder will adhere to it. See how pretty the colored embossing is?


Stampin’ Up! Products Used:
- Stamps: Inspirational Sketches
- Inks: VersaMark, Berry Burst, Mossy Meadow
- Cardstock: Mossy Meadow, Basic White
- Designer Paper: Masterfully Made
- Tools & Accessories: Scalloped Contours Dies, Adhesive-Backed Shiny Sequins, Stampin’ Dimensionals, Blending Brush, Watercolor Pencils Assortment 2, Basics Embossing Powders, Heat Tool, Blender Pens, Paper Snips
Card Recipe:
- Card Base: Mossy Meadow Cardstock 8-1/2″ x 5-1/2″. Score and fold at 4-1/4″.
- Layer 2: Basic White Cardstock 5-1/4″ x 4″. Glue to card front.
- Layer 3: Masterfully Made Designer Paper 5″ x 3-3/4″. Glue to card front.
- Layer 4: Basic White Cardstock cut with the Scalloped Contours Dies 3-3/4″ x 2-1/2″. Follow these steps:
- Ink the mushroom image with VersaMark Ink (don’t stamp the image yet).
- Ink the mushroom image over the VersaMark Ink with Berry Burst Ink and stamp.
- Sprinkle clear embossing powder and melt with the heat tool.
- Use a Blender Pen to add the bright pink shade from the Watercolor Pencils.
- Use a Blending Brush and Mossy Meadow Ink to add color to the edges of the die shape and around the mushrooms.
- Glue to card front 3/4″ from the left edge with Stampin’ Dimensionals.
- Layer 5: Basic White Cardstock 2″ x 1″. Use Paper Snips to cut a banner shape. Glue the banner to the right of the stamped layer and tucked under.
- Sentiment: Mossy Meadow Cardstock 2-1/8″ x 5/8″. Stamp the sentiment with VersaMark Ink. Sprinkle white embossing powder and melt with the heat tool. Glue to the bottom of the stamped layer.
- Bling: Add Adesive-backed shiny sequins to the background.
Be sure to visit Create With Stamping Friends to see what Connie created as well!

We have a new Collection available now:

Send some hugs and support to your friends and family with these furry friends’ images and everyday sentiments! The HEARTS & HUGS STAMP SET and DIES areavailable for demos to preorder now and customers beginning May 1st! Stamp and cut the cuddly animal images in one solid color or onto a fun piece of Designer Series Paper. Or try a watercoloring technique. Pair them with the flowers, hearts and banner diecuts to complete your look. We’ve combined the HEARTS & HUGS BUNDLE with the NEW 2024-26 IN COLORS 6×6 DESIGNER PAPER for sending lots of cheer. Our new Collection includes tutorials for THREE cards (one a special fold) and a thoughtful gift project to show someone you care. See more details HERE.

Spend the day at your local flower mart or create your own beautiful flower bouquets using Stampin’ Up!’s new COUNTRY FLOWERS STAMP SET AND DIES, available for demos to preorder now and customers beginning May 1st! Fill the vases, pail and other containers with bold blooms on your cards or projects and add a beautiful script greeting! We’ve combined the COUNTRY FLOWERS BUNDLE with the NEW 2024-26 IN COLORS for some bright, colorful fun! The UNBOUNDED BEAUTY DESIGNER PAPER was a perfect match! Our new Collection includes tutorials for FOUR cards and TWO fun projects for your open houses and catalog launches! See more details HERE!


Leave a Reply