Shop From Our New Catalog and Earn Free Sale-A-Bration Products!
First off this morning, I want to alert you that our new Mini Catalog and new Sale-A-Bration Brochure are both now live and you can shop and earn free products. As customary, Sale-A-Bration has two levels of free products:
- Earn the Level 1 products by placing a $50 order
- Earn the Level 2 products by placing a $100 order
- If your order is higher, you can mix the Level 1 and Level 2 products

2022 Mini Catalog January to June 
2022 Sale-A-Bration January to February
Now for today’s Day #3 Week #2 Product Feature:

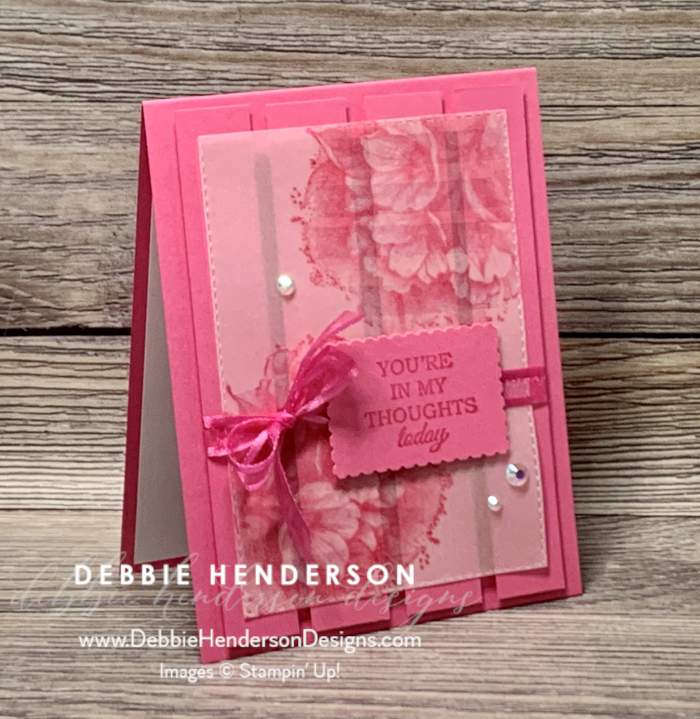
I got my inspiration from this card from the Sale-A-Bration brochure but changed the colors and my layout from horizontal to vertical. I had to use my favorite pink which is Polished Pink for a monochromatic card:

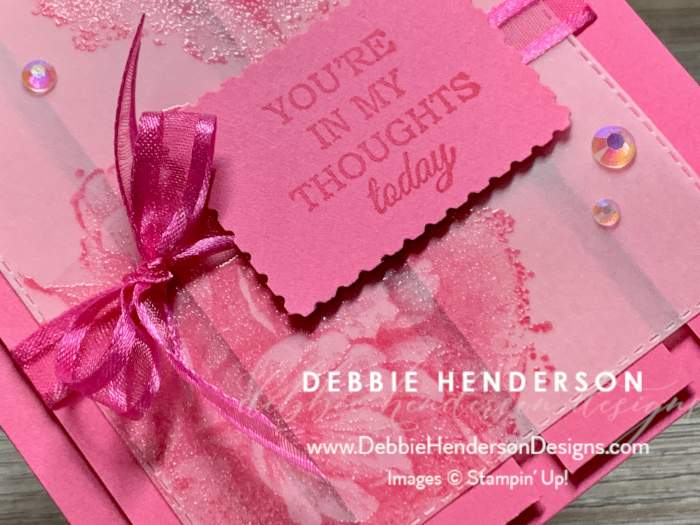
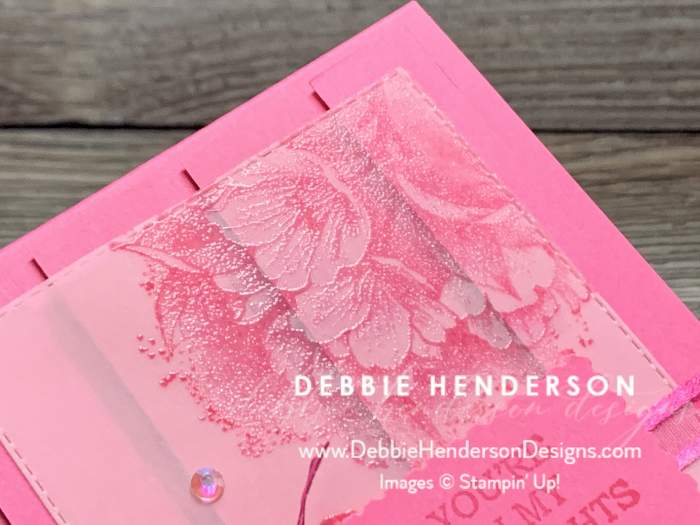
I always rave about the coordination of Stampin’ Up! products. The ink, cardstock and ribbon are all the same shade and depending on how you hold or tilt the card, the Iridescent Rhinestone Basic Jewels take on the color of the cardstock. You can see what I mean in the photos below:
The Calming Camillia stamp set is a host set that you can earn for free during Sale-A-Bration. If you host a workshop or class with your friends & family and the combined total of sales reaches $300, it’s yours for free! Or if you place your own order off your wishlist and reach that amount on your own, you get it for free also.
Card Recipe:
- Card Base: Polished Pink Cardstock 11″ x 4-1/4″. Score and fold at 5-1/2″.
- Layer #2: Cut 4 strips of Polished Pink Cardstock to measure 5-1/4″ x 3/4″. Glue to card front using Stampin’ Dimensionals. NOTE: do not add dimensionals were the ribbon will be threaded through the strips in a later step.
- Layer #3: Vellum Cardstock cut with the Rectangle Stitched Dies that measures 4-3/4″ x 3-3/8″. Ink the large flower image twice before stamping with VersaMark Ink followed by Polished Pink Ink in the top right-hand corner. Clean your stamp image and repeat on the bottom left-hand corner. Sprinkle with Clear Embossing Powder and melt with the Heat Tool. Glue to the center of the card front.
- Ribbon: Thread the Polished Pink Open Weave Ribbon under the cardstock strips and bring towards the front to tie into a bow at the left.
- Sentiment: Stamp the sentiment on Polished Pink Cardstock with Polished Pink Ink. Cut with the Rectangular Postage Stamp Punch. Glue over the ribbon using Stampin’ Dimensionals.
- Bling: Add a few Iridescent Rhinestone Basic Jewels to the background.


Leave a Reply